I have had a few friends in the past couple of weeks ask me for help with distressing furniture. I have become quite the pro at this and if you have ever visited my home, you already know that the more worn something looks to me, the better.
Step 1: Pick out old piece of furniture from flea market, thrift store, junk store, etc. The junkier the better. Don't underestimate the potential behind even the most hideous pieces of furniture you may find :)
Step 2: Make a trip to Lowes.
You will need to get: spray can of paint primer, gloss paint, a cheap tarp, fine-grain sandpaper, and a paint brush. Depending on how big/small whatever you're painting is, I recommend getting sample size paint to save money. It looks small, but I covered my coffee table with 2 coats and still had some leftover - and you can ask for it in any color. If you think you might need more, the pint covers 100 sq ft.
Step 3: Set up tarp in a dry, flat area outside when you know it's not supposed to rain that day. Place furniture in the middle of the tarp and make sure none of the sides are able to blow over and stick to the wet paint once you begin.

Step 4: Scuff up table (or whatever you are painting) with sandpaper. You do not need to completely sand every inch of it. Just scuff it up evenly and smooth out any previous paint chips or uneven surfaces. This way, the primer will adhere better - no matter what kind of paint was used before.

Step 5: Spray primer evenly over all surfaces that will be painted. As you can see, it does not need to be a solid coat like the paint. Let primer dry depending on the time it says on the can. If it's a hot day, it may take less time. (I did these tables last summer and they dried super fast in the heat).
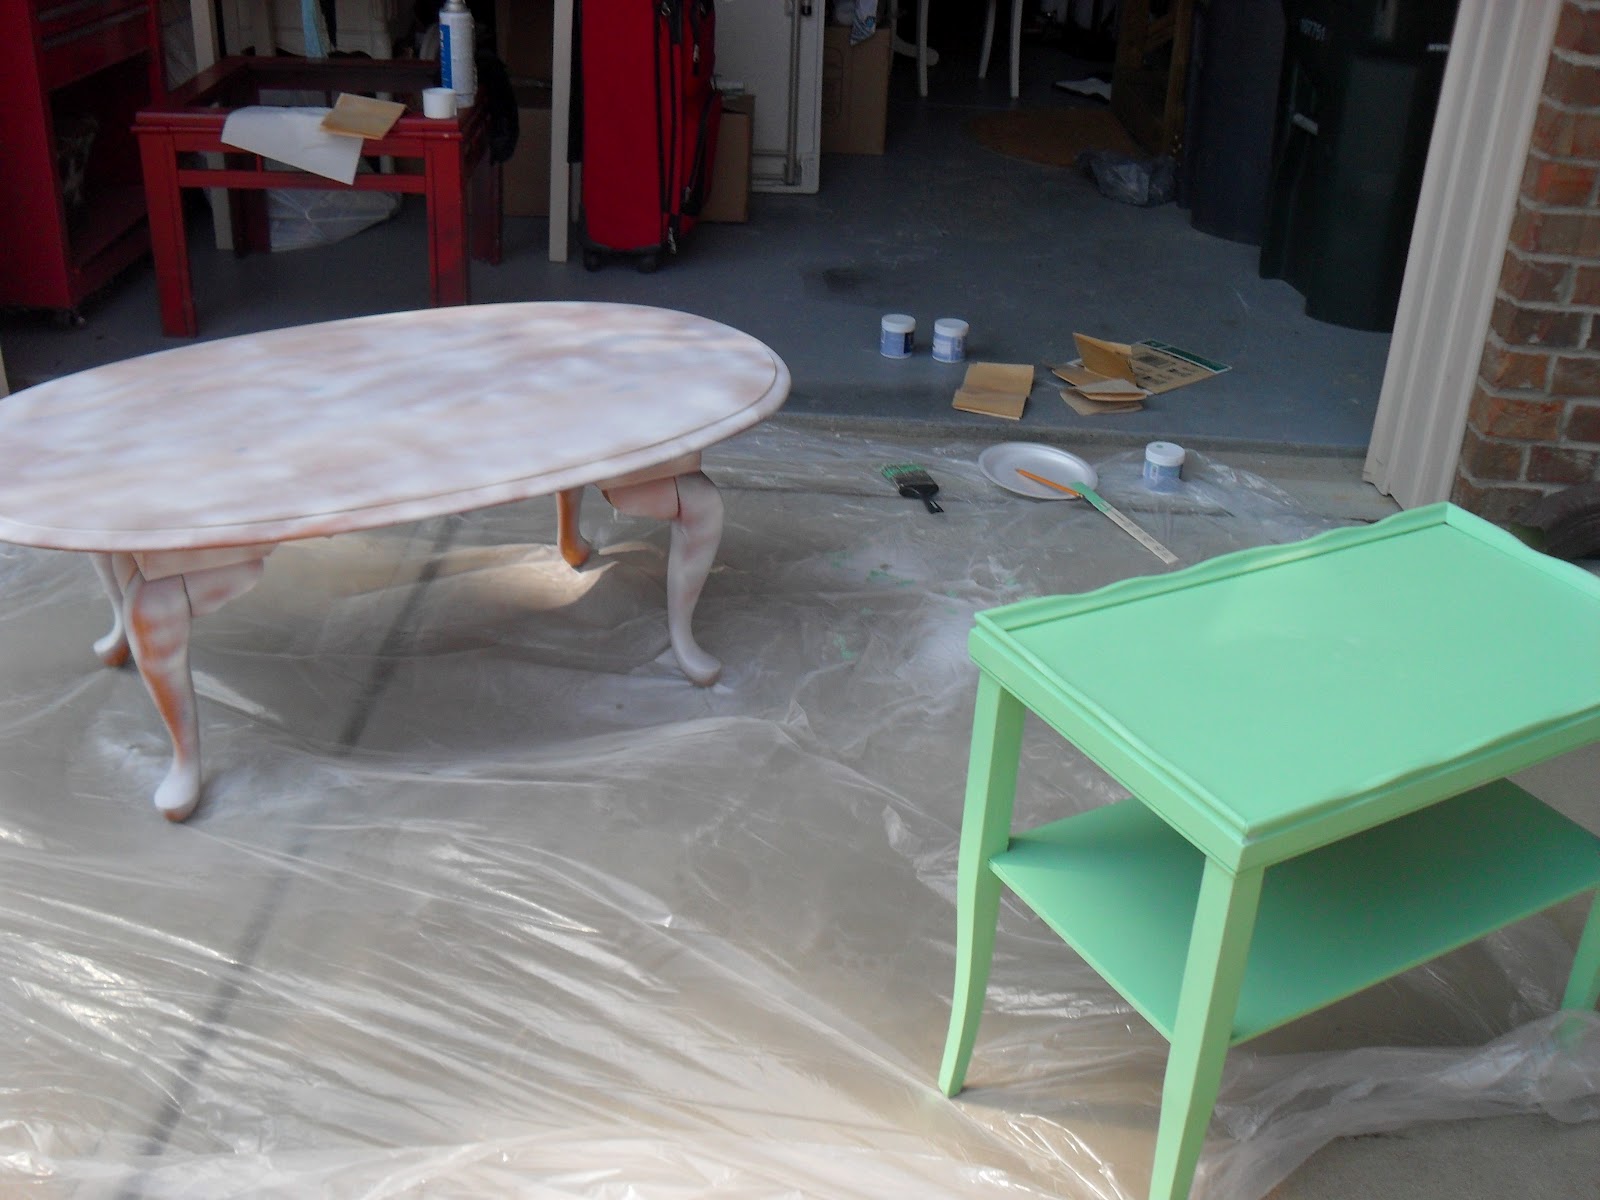

Step 6: Paint 2 coats and let dry for a few hours. It's important to let the paint completely dry in order to properly distress.


Step 7: (not pictured) Time to distress! After paint is dry, time to get out the sandpaper. (Again, be sure you are using fine-grain.) I always start out where any ridges or texture is - so usually the legs and edges where all the curves are. Sand lightly and apply more pressure until you see the natural wood showing through. For the flat surfaces, add a couple of distressed spots as well, but focus more on other areas, as you want to keep the idea of it looking more natural, thinking of where items actually become distressed over time.
Next, take a dry paint brush or paper towel and brush off the dust from sanding. Enjoy your new fabulous piece of furniture!
thanks !! very helpful post!
ReplyDeleteMy web blog radio.km5.com.br
Also see my website: www.bffe.com.au